
Tent poles are the skeleton of your outdoor shelter, providing structure to keep the tent upright. If a pole breaks, your tent may wobble, flap or completely collapse, so it’s smart to be prepared with the necessary equipment and knowhow to fix a damaged pole. In this article, we’ll teach you how to:
- Splint a broken tent pole: Learn how to use a repair sleeve or a tent stake as a splint to fix a pole while you’re in the field.
- Replace shockcord: Learn how to do an at-home repair if the stretchy shockcord inside your tent pole breaks or wears out.
Professional repairs: If you need professional help, many REI stores can do basic repairs. Another great option is TentPole Technologies, the nation’s leading pole repair service.
Splinting a Broken Tent Pole
Whether your tent pole gets stepped on or a powerful gust of wind does the damage, a kinked, split or snapped pole needs immediate attention in the field (when you get home, you can look into having the pole replaced or professionally repaired.) You have two options:
- Use a pole repair sleeve
- Use a tent stake as a splint
Using a Pole Repair Sleeve
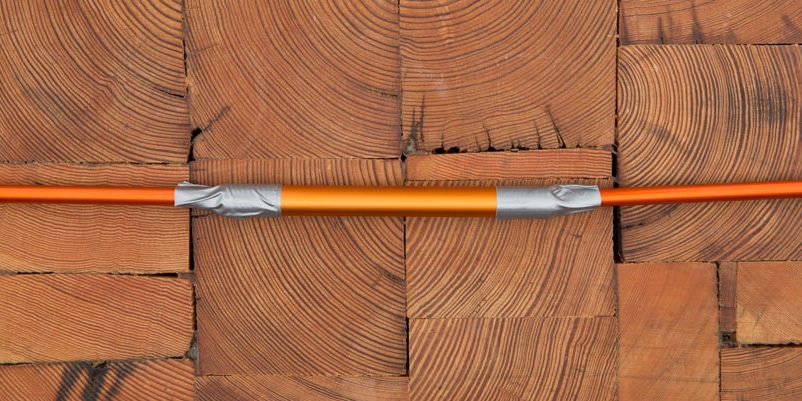
The easiest and quickest way to fix a broken pole is with a pole repair sleeve. Also called a splint, this short tube is often provided with your tent. If not, buy one and pack it with you. A good pole repair sleeve is just slightly larger in diameter than your pole so that it doesn’t move around too much. Using a repair sleeve to fix a broken tent pole is simple:
- Line up the broken pole sections.
- If the pole is bent but not fully broken, gently straighten out the bend.
- Slide the sleeve over the pole end until it’s centered over the break or kink; you might have to use pliers to crimp or a rock to bend splayed pieces so that the sleeve can slide over them.
- Wrap each end of the sleeve/pole a couple of times with duct tape, or whatever heavy-duty tape you have with you.
- If your pole breaks where one pole end inserts into the next one, you will have to splint the sections together; keep in mind that this will prevent the poles from folding up neatly when you take the tent down.
Using a Tent Stake as a Splint
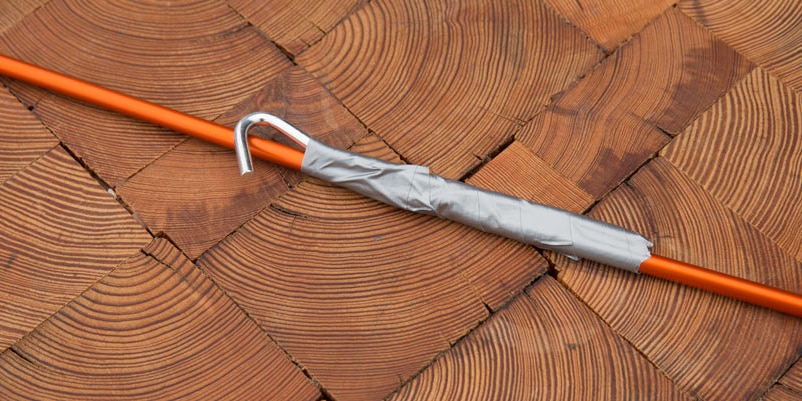
If you’ve lost or forgotten your pole repair sleeve, you can use a tent stake to concoct a crude splint:
- Line up the broken pole sections.
- If the pole is bent but not fully broken, straighten out the bend.
- Align the stake so that it’s centered next to the break.
- Wrap each end of the stake/pole multiple times with duct tape, or whatever heavy-duty tape you have on hand.
How to Replace Tent-Pole Shockcord
Over time, the stretchy shockcord that’s inside your tent poles may get abraded and break or simply lose its elasticity. If the shockcord snaps while you’re in the field, you can still use the pole by carefully assembling the individual sections. However, when you get home, you’ll want to replace the shockcord; it makes assembly simple and keeps you from losing a pole section. Fortunately, replacing it is a straightforward process.
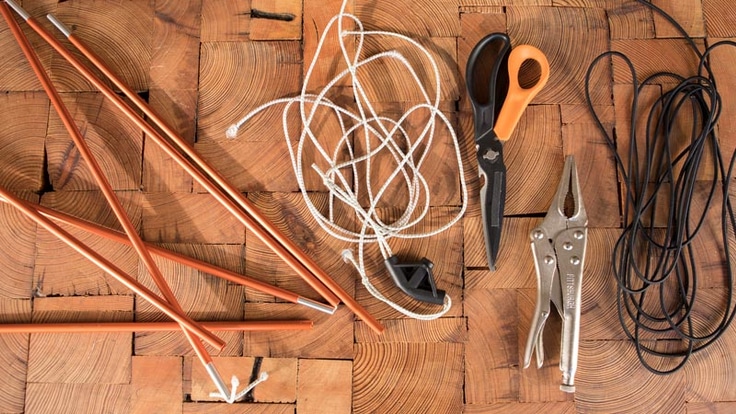
Supplies:
- A permanent marker
- Masking tape (optional)
- Scissors
- Locking pliers
- New shockcord (approximately the length of your tent pole)
Here’s how to replace the shockcord:
- Start by laying the tent pole out straight.
- To avoid mixing up sections, label them with a permanent marker. (Use masking tape if you don’t want to write directly on the pole.) If the old shockcord passes through a pole hub, be sure to carefully label the hub, too.
- Snip the old cord, then pull the elastic out from a pole end. NOTE: Take care to keep all of the pole sections in the same order and orientation as you work.
- Keep an eye out for the pole tips: small metal pieces that fit into the end of the outermost pole sections. Don’t lose them!
- Unknot the ends and lay the old cord down next to your new shockcord; cut the new section of shockcord to match the full length of the original.
- If the old shockcord is stretched out and no longer elastic, cut the new section about 8 inches shorter than the old one.
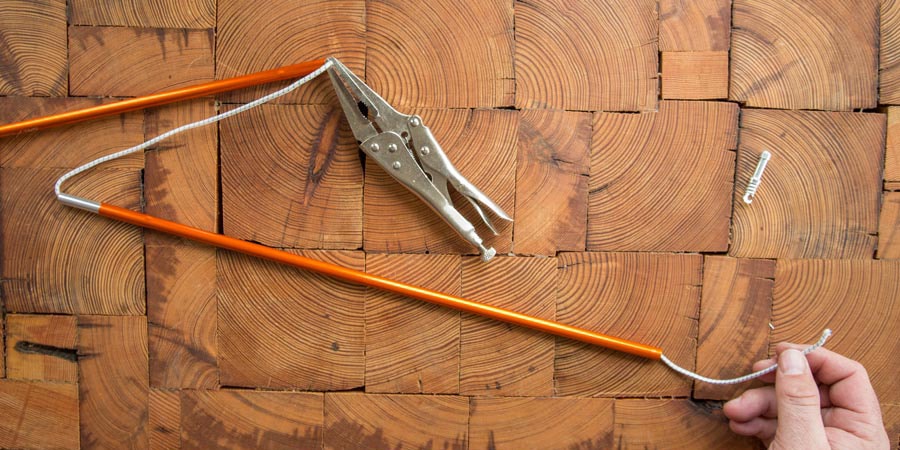
- Tie one end of the shockcord to a pole tip, then feed the other end through all but the last pole section.
- Stretch the shockcord to extend its length, then use your locking pliers to firmly hold the cord. This keeps it from slipping back inside the assembled pole sections.
- Feed the remaining shockcord through the final pole section and tie it to the pole tip.
- Go back and unclamp the cord between the final two pole sections. Double-check that all pole sections now seat tightly in the fully assembled pole.
- If the shockcord is still loose, untie one end and remove 6 inches at a time until the poles are held together firmly when assembled. Do not over-shorten the cord.
- Unseat the sections and fold up the pole, starting at the middle point.